Stop Posting Manually: How to Schedule Facebook Posts Faster and More Consistently (2026)
You plan to post at 9 AM. Then something comes up. The post goes out at 2 PM… or not at all.
Do that a few times, and your Facebook page starts to look inconsistent. Not because you lack content, but because there is no system behind it.
That is the real problem.
Learning how to schedule Facebook posts fixes more than timing. It removes the need to be online at the exact moment, keeps your content consistent, and gives you control over how posts are distributed across the week.
In this guide, you will see how to schedule Facebook posts using both native tools and third-party schedulers, when each option makes sense, and how to move from basic scheduling to something you can actually rely on long term.
Table of contents:
-
Why Scheduling Facebook Posts Matters More Than You Think
-
Native vs Third-Party Tools: What’s the Difference?
-
How to schedule a post on Facebook using Meta Business Suite
-
How to schedule a post on Facebook using a third-party Facebook scheduler
-
Octopost vs. Meta Business Suite
-
Best Tips for Scheduling Facebook Posts
-
Conclusion
-
Facebook post scheduling FAQs
Why You Should Schedule Facebook Posts?
If you’ve ever tried to write a caption or upload a post right before publishing, you already know how messy it gets.
You rush, you second-guess, and sometimes you just skip posting altogether.
That’s exactly why more people are starting to schedule Facebook posts instead of relying on manual posting.
It is not about saving a few minutes. It is about making your workflow easier to manage.
Save time and plan ahead
Scheduling lets you step out of daily posting mode.
Instead of thinking “what should I post today,” you sit down once and plan a full week or even a month of content. Everything is mapped out in advance, so you are not interrupting your day just to hit a posting time.
This also makes it easier to reuse good content. You can bring back posts that performed well instead of constantly starting from zero.
Stay consistent without extra effort
Posting when you remember sounds fine until you start missing days.
Once that happens, your page becomes unpredictable. Some days are active, others are empty. That breaks the rhythm your audience expects.
When you schedule Facebook posts, your content goes out regularly. Even if you are busy, offline, or on vacation, your page stays active.
Consistency is what keeps your content visible over time.
Hit the right timing without being online
Timing plays a role in how your content performs.
Your audience is not active all day. There are specific windows where engagement is higher. Posting manually means you have to be available at those exact times.
Scheduling removes that constraint. You can choose the right time in advance and let the post go live automatically.
It also gives you flexibility to test different time slots and adjust based on what actually works.
Keep your team aligned
Things get complicated when more than one person is involved.
Content ideas sit in one place, captions in another, and approvals happen in messages. This leads to confusion, delays, and missed posts.
Scheduling brings everything into one workflow. Everyone can see what is planned, what is in progress, and what is ready to go.
It reduces last-minute issues and makes the process easier to manage as your content grows.
Native vs Third-Party Tools: What’s the Difference?
When you start to schedule Facebook posts, you’ll usually choose between two options: native tools like Meta Business Suite, or third-party schedulers.
Both can get your posts published. The difference is how much control and flexibility you get as your workflow grows.
Meta Business Suite is built directly by Facebook, so it connects instantly to your page and handles publishing reliably. It works well if you are managing a single page and just need a simple way to plan posts ahead.
Third-party tools take it further. They are designed to handle multiple platforms, larger content volume, and team workflows. Instead of only scheduling posts, they help you plan, organize, and track everything in one place.
The right choice depends on how complex your workflow is today and how much it is likely to grow.
How to schedule a post on Facebook using Meta Business Suite
If you only need a simple way to schedule Facebook posts, Meta Business Suite is the easiest place to start. It is already connected to your page and does not require any setup beyond logging in.
Here is how the process works step by step.
Step 1: Log in to Meta Business Suite
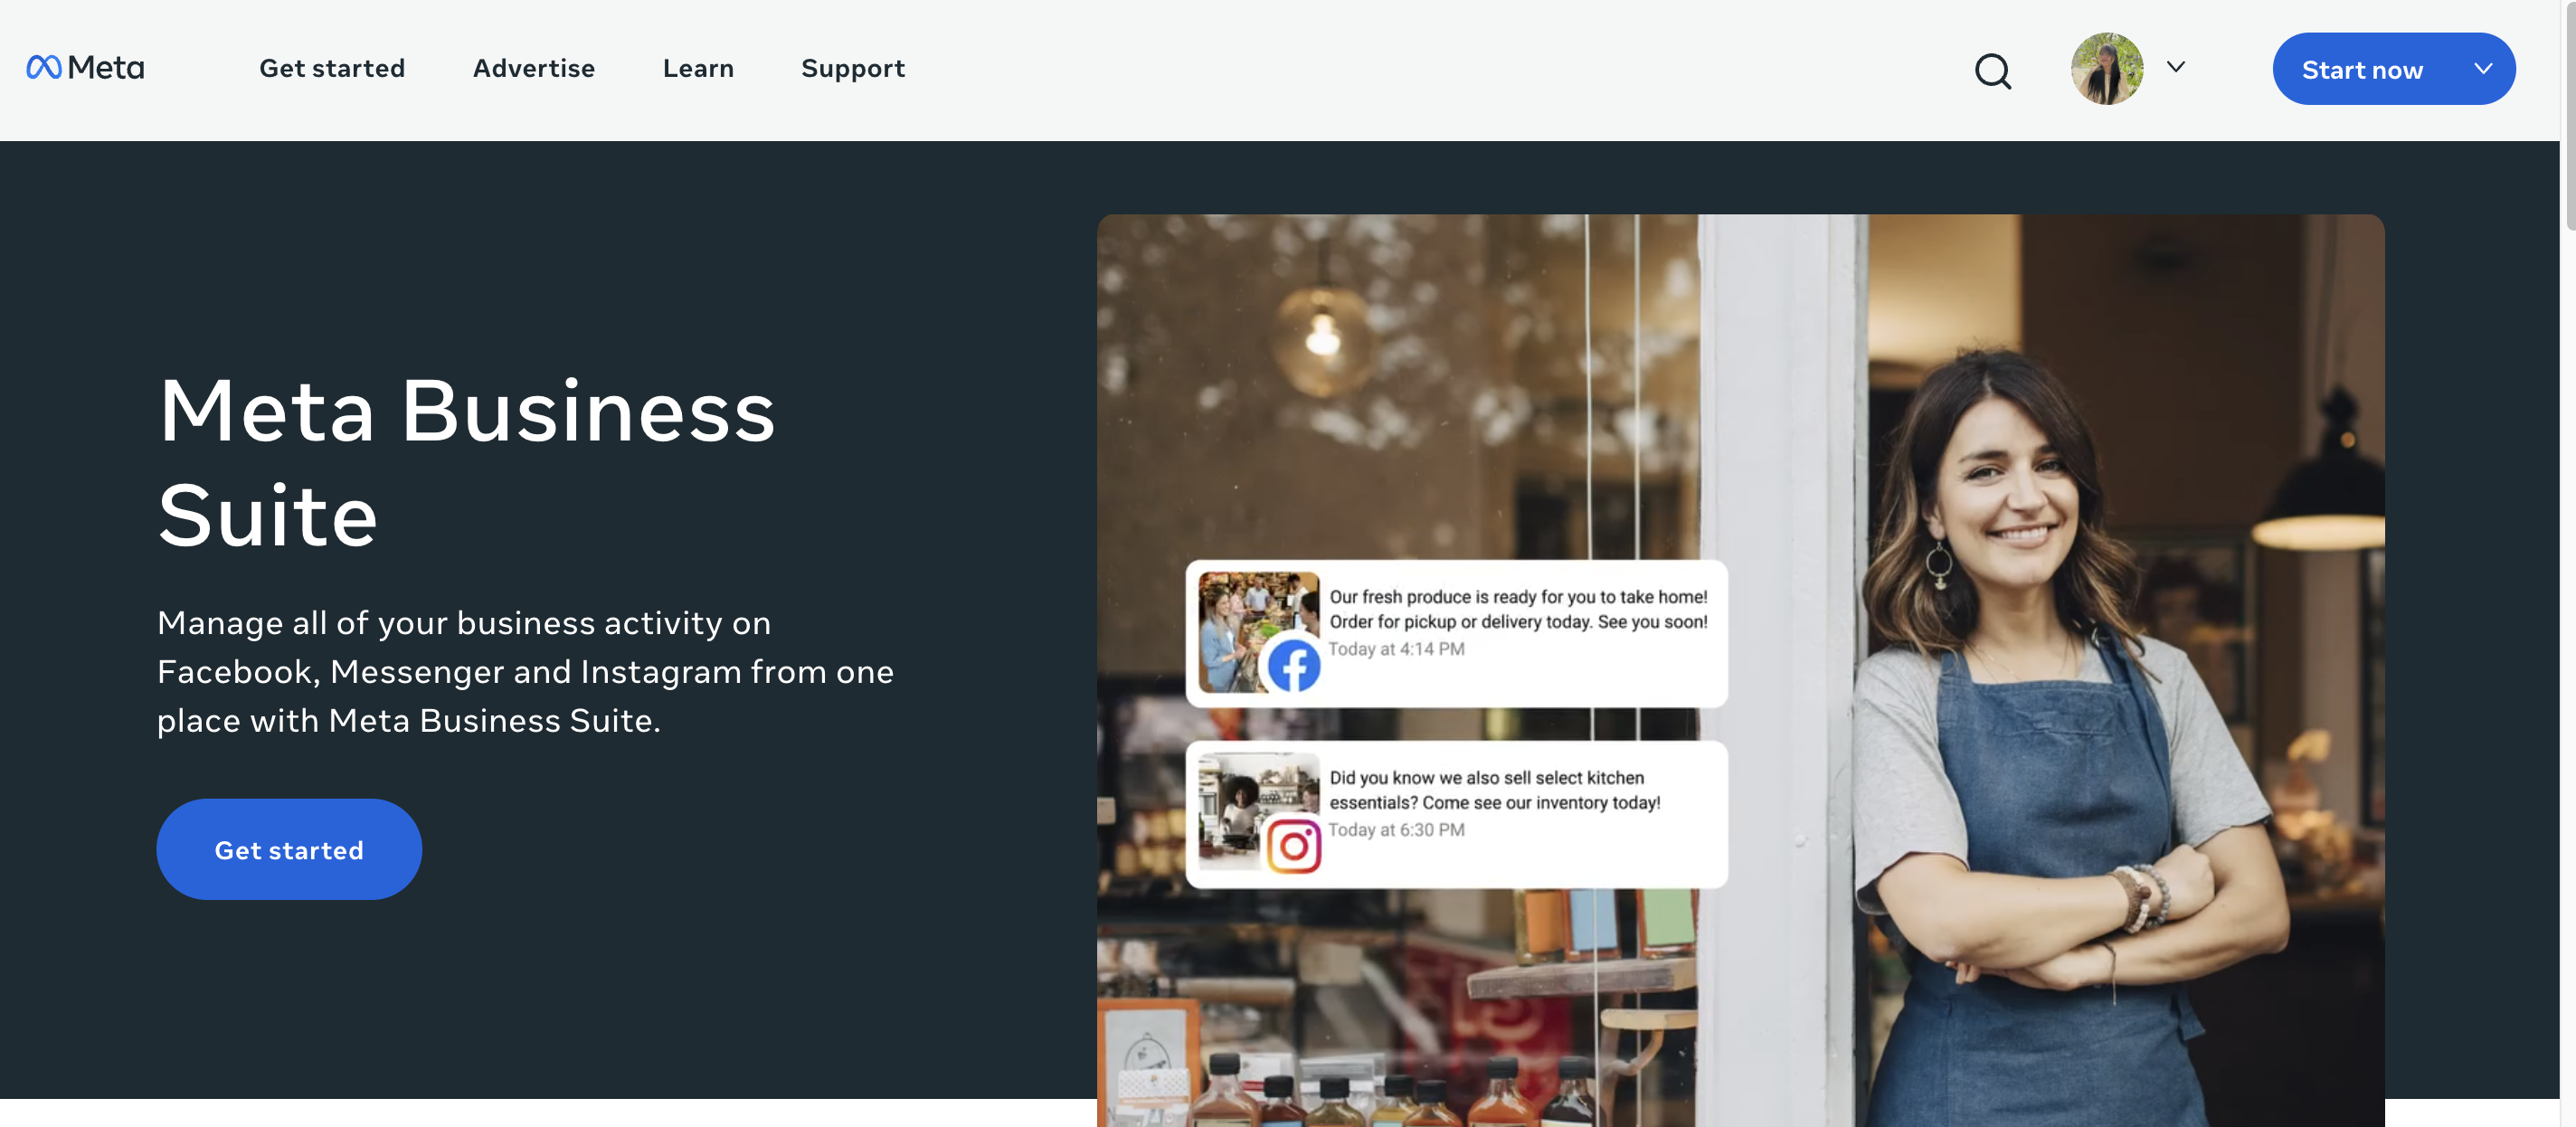
Go to business.facebook.com and log in with the account that manages your Facebook page. This will take you directly to the dashboard.
Step 2: Select your Facebook page
If you manage multiple pages, choose the one you want to work on from the left-hand panel. Everything you create will be tied to this page.
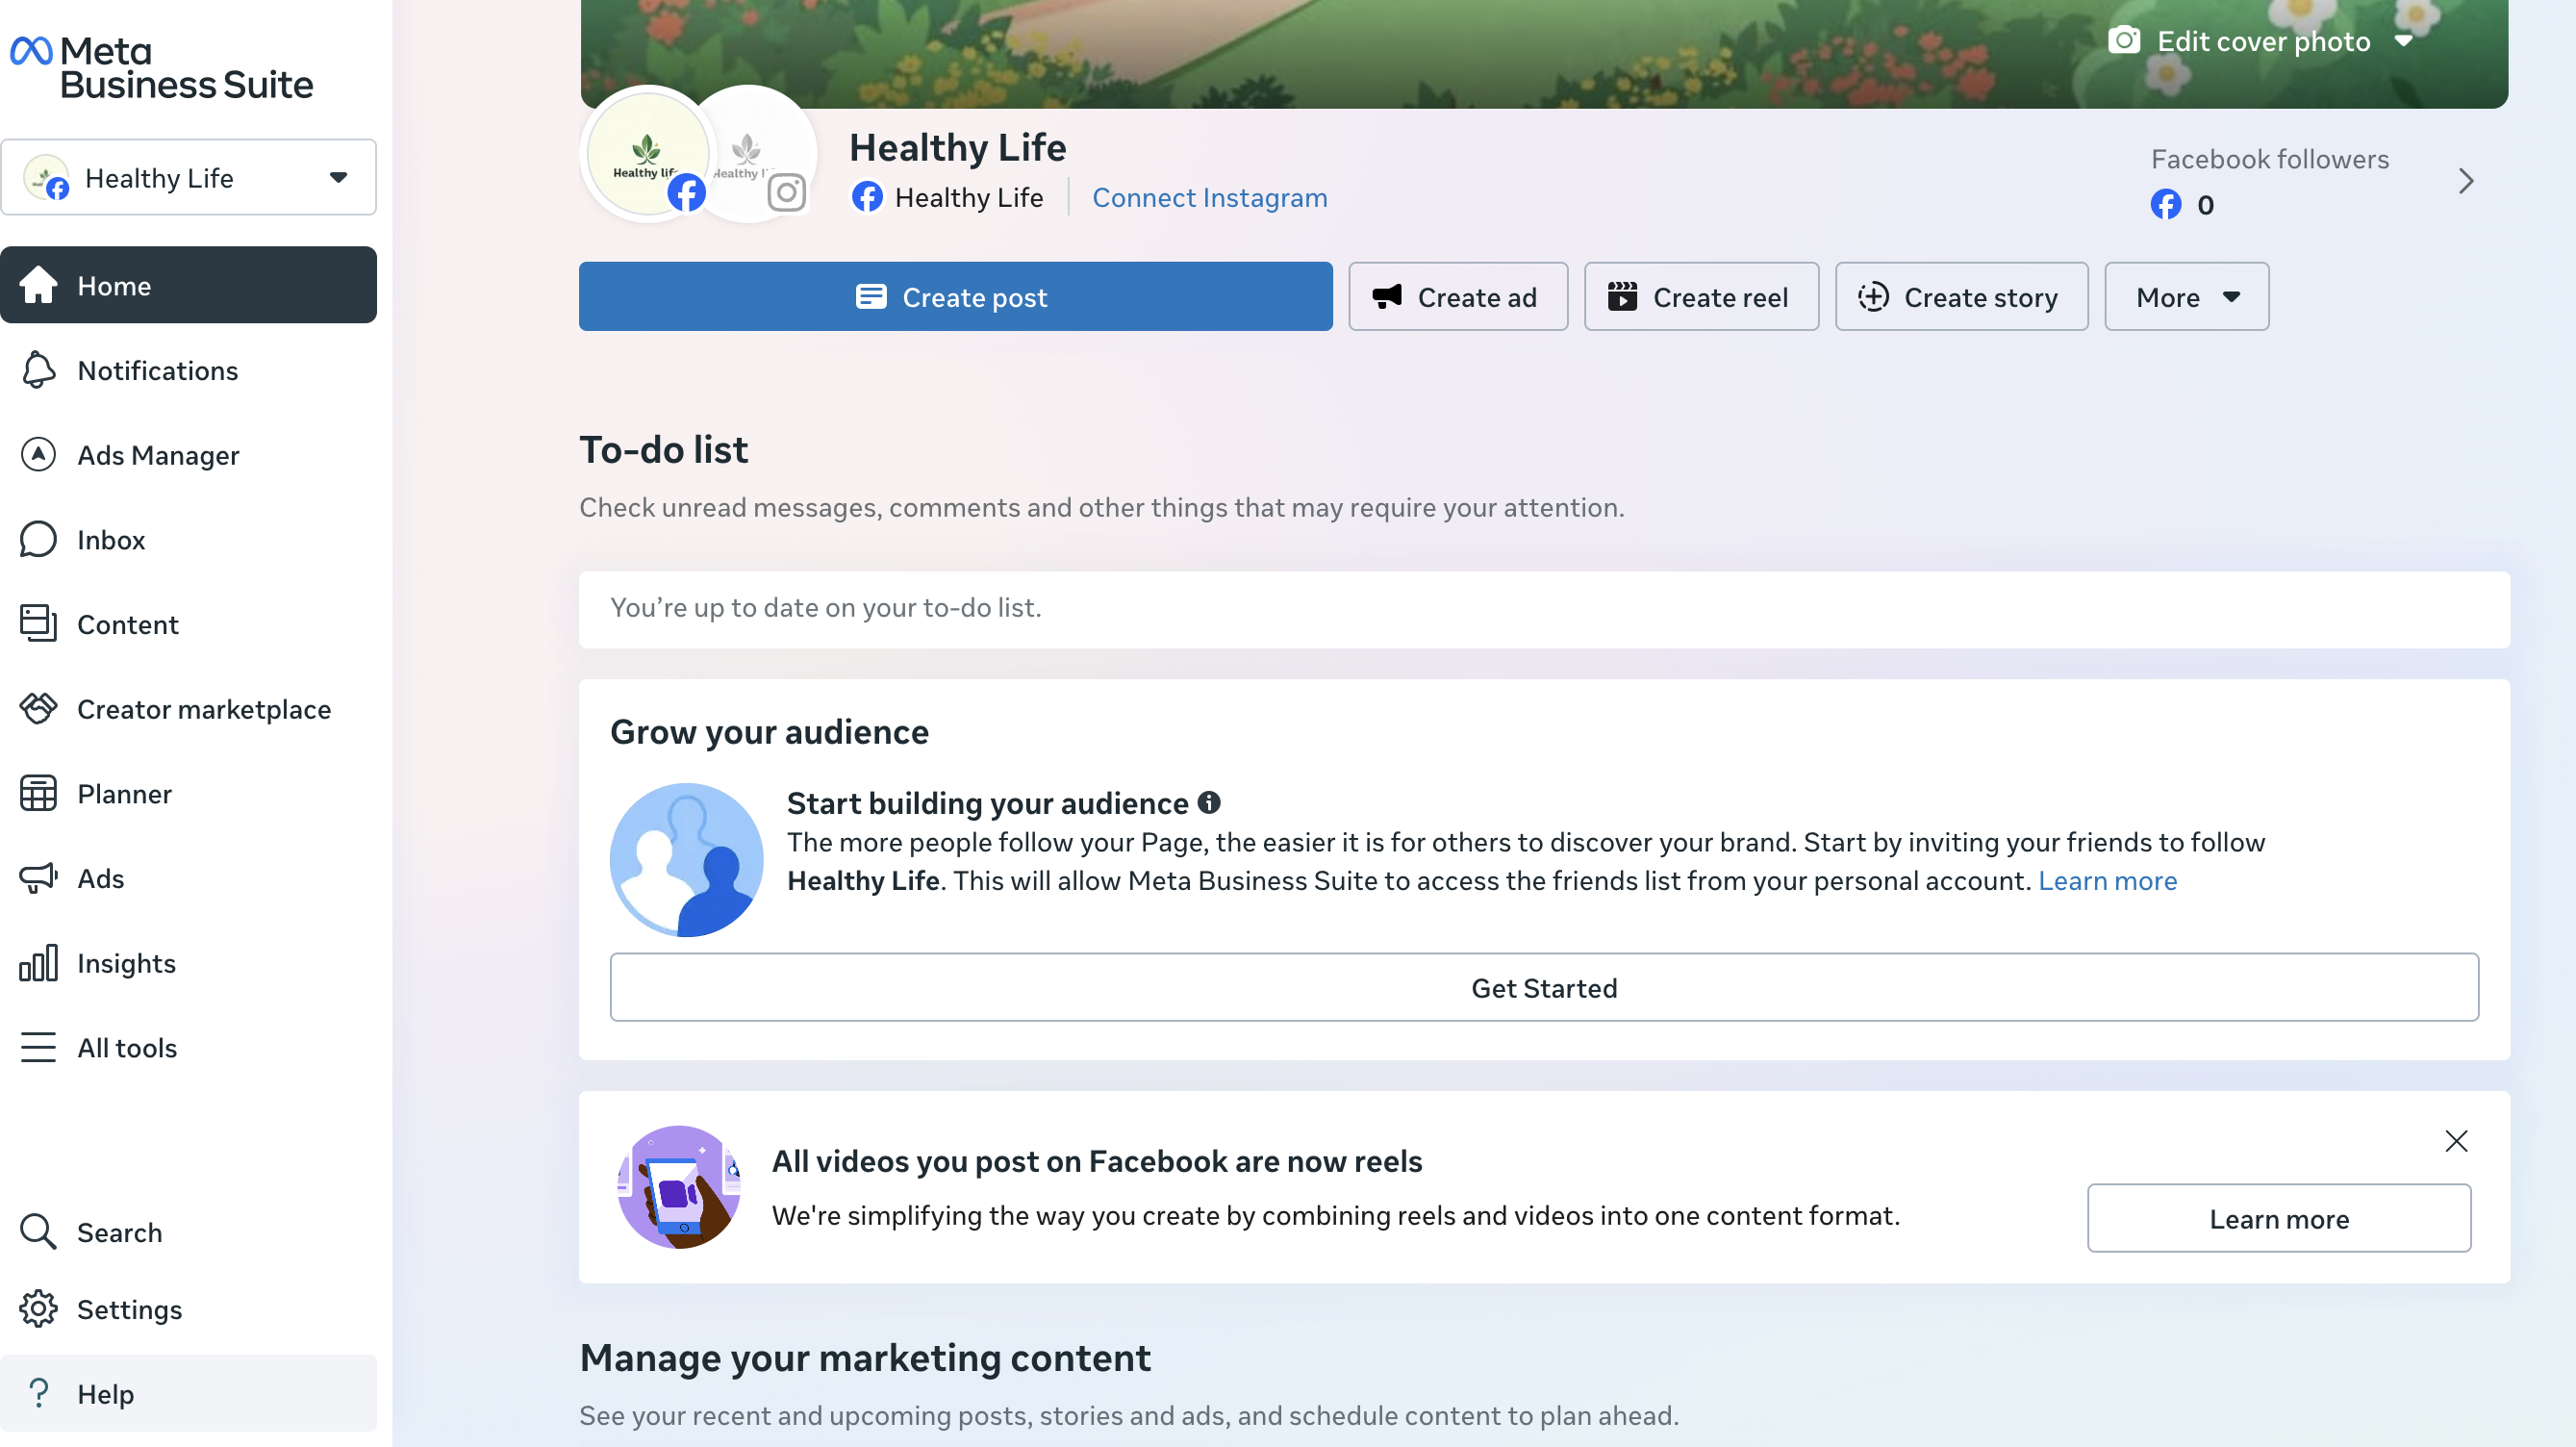
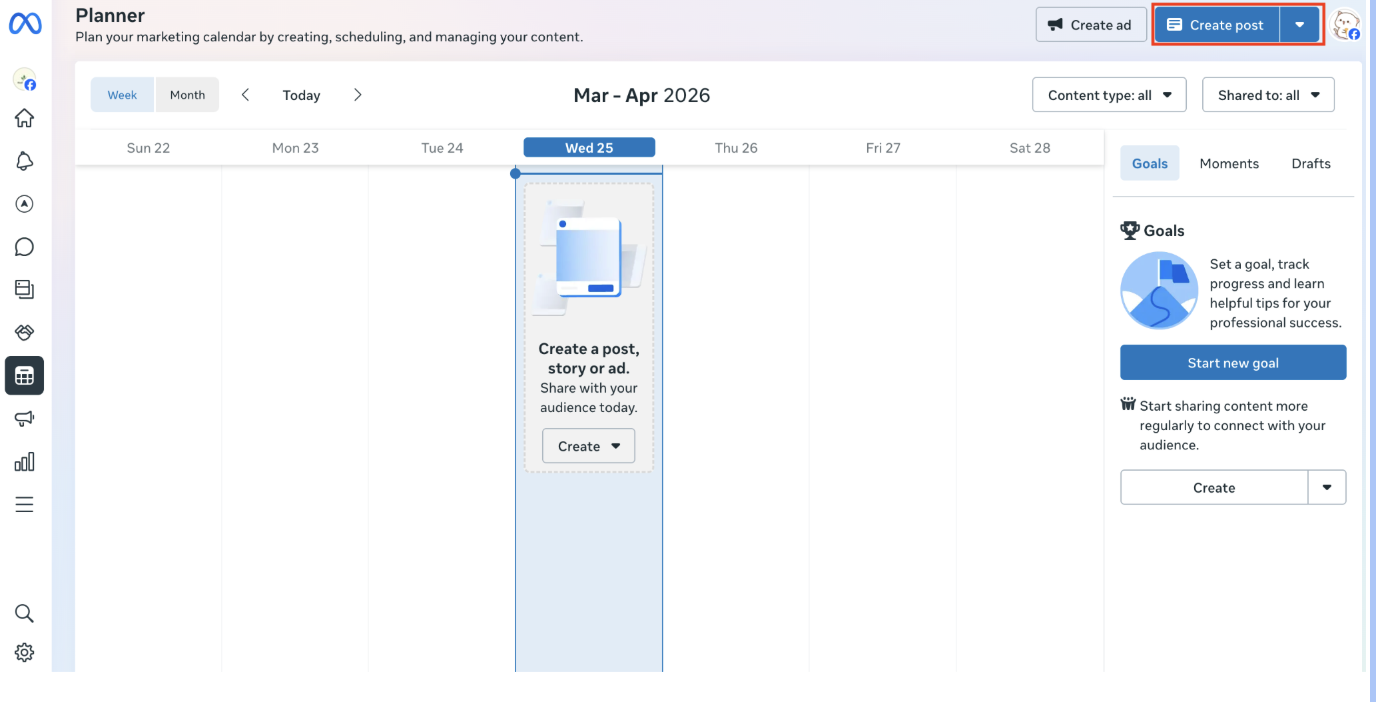
Step 3: Open the Planner view
Click on “Planner” in the left menu.
This is where you can see your scheduled and published posts in a calendar format. It helps you understand what is going out and when, across Facebook and Instagram.
Step 4: Click “Create Post”
On the top right, click “Create” and select “Post.”
A new window will open where you can start drafting your content.
Step 5: Write and customize your post
Add your caption, images, videos, or links.
You can choose whether to publish to Facebook only or include Instagram as well. If you are scheduling only for Facebook, make sure Instagram is unchecked.
Step 6: Set the date and time
Turn on the scheduling option and choose when your post should go live.
Meta will suggest posting times based on your audience activity, which can help improve reach without guessing.
Step 7: Click “Schedule”
Once everything looks right, click “Schedule.”
Your post will appear in the calendar and will be published automatically at the selected time. You can still edit or delete it before it goes live.
If you only need to schedule Facebook posts occasionally, this setup works well.
Pros
-
Completely free and already connected to your accounts
-
Simple interface for creating and scheduling posts
-
Built-in calendar for basic planning
Cons
-
Can feel slow when managing multiple pages
-
No bulk scheduling, so you have to create posts one by one
-
Limited to Facebook and Instagram, which makes cross-platform planning harder
For simple workflows, Meta Business Suite is enough. As soon as content volume increases, the limitations start to show.
Read more: The Best Facebook Post Scheduler For Marketers To Grow Your Reach
How to schedule a post on Facebook using a third-party Facebook scheduler
If you are managing more than just a few posts per week, a third-party tool like Octopost changes how you schedule Facebook posts completely.
Instead of posting one by one inside Facebook, you are working in a system where planning, creation, scheduling, and performance all happen together.
Here is how the workflow typically looks with a tool like Octopost.
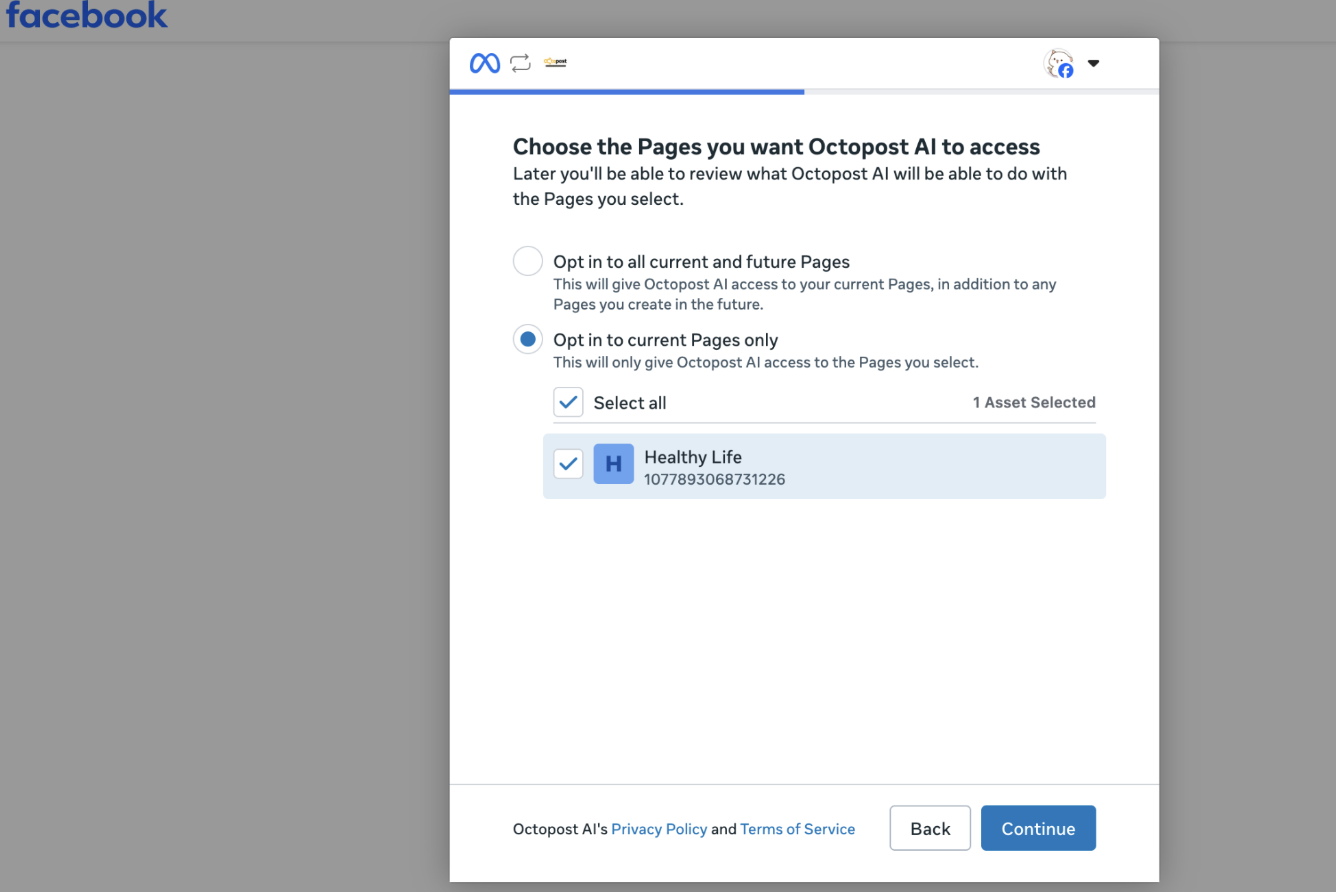
Step 1: Connect your Facebook page
Log in to Octopost and connect your Facebook account. Once connected, you can manage publishing without switching back to Meta Business Suite.
Step 2: Create or import your content
You can write posts directly inside the platform or upload multiple posts at once using bulk upload.
This is where Octopost saves time. Instead of creating posts one by one, you can prepare a full batch of content in advance and import it in one go.
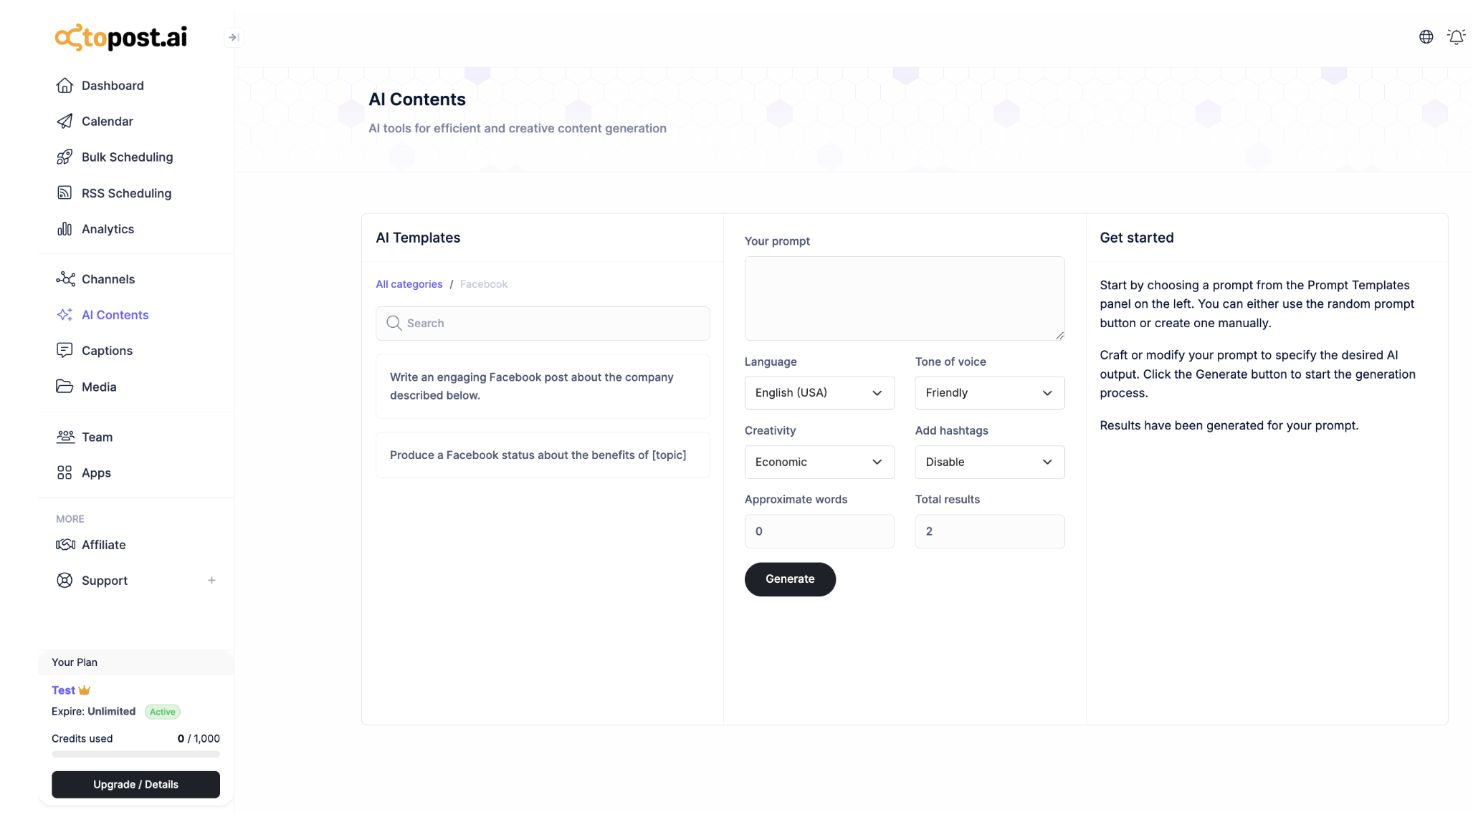
You can also use built-in AI (Claude-powered) to generate captions, variations, or improve your messaging without starting from scratch.
Step 3: Organize content in the calendar
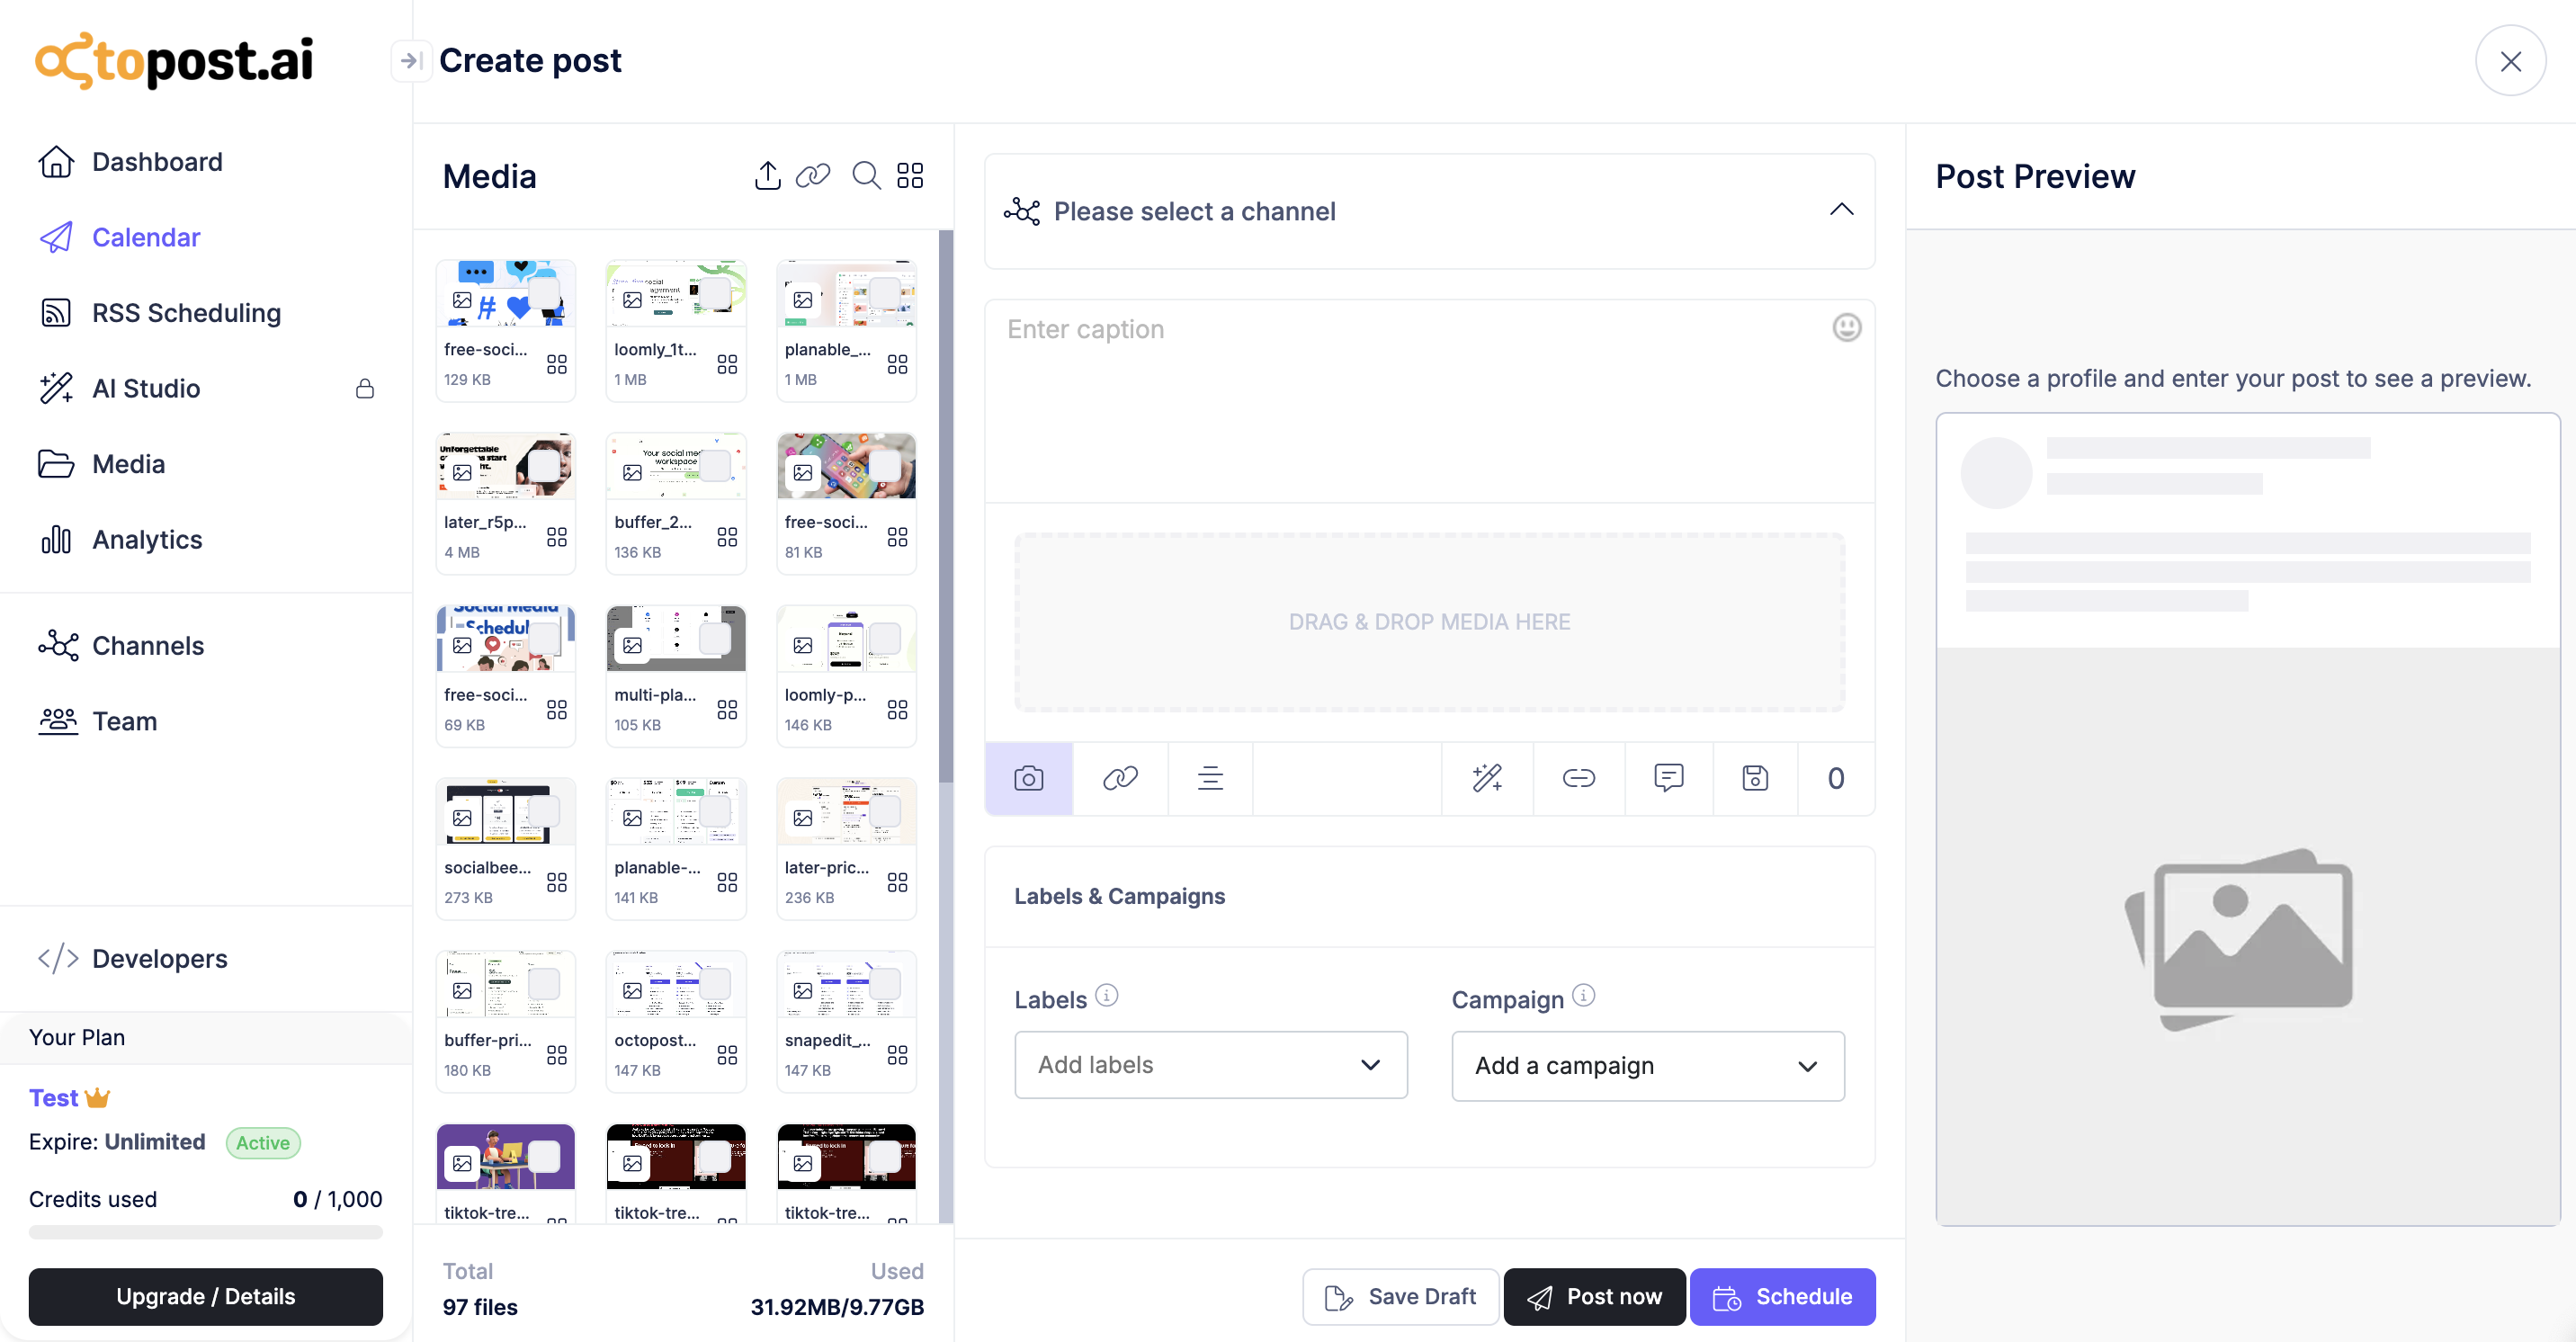
Move your posts into the visual content calendar.
This gives you a full view of everything scheduled across your Facebook page and other platforms. You can drag and drop posts, adjust timing, and align content with campaigns instead of managing isolated posts.
Step 4: Customize and optimize each post
Before scheduling, you can fine-tune your content.
Adjust captions, add media, and optimize for your audience. If you are posting across multiple platforms, you can adapt each version without duplicating work.
Step 5: Set publishing time or use smart scheduling
Choose the exact time your post should go live.
Octopost can also help you identify better posting windows based on engagement data, so you are not guessing when to publish.
Step 6: Review and approve (for teams)
If you are working with a team, you can assign posts for review.
Team members can comment, edit, and approve content directly inside the platform. This keeps everything in one workflow instead of spreading feedback across chats and documents.
Step 7: Schedule and automate publishing
Once everything is ready, schedule the post.
Octopost handles publishing automatically, so you do not need to be online at the scheduled time. Your content goes live exactly as planned.
Step 8: Bulk schedule Facebook posts
This is where third-party tools really stand out.
With Octopost, you can:
-
Upload multiple posts at once
-
Schedule an entire week or campaign in one session
-
Edit or adjust posts directly in the calendar afterward
This removes the need to repeat the same steps for every single post.
Step 9: Edit, reschedule, or pause posts anytime
Plans change. With a third-party scheduler, you can update posts directly from the calendar.
You can:
-
Edit captions or media
-
Move posts to a different time
-
Duplicate high-performing content
-
Pause scheduled posts if needed
Everything stays flexible without breaking your workflow.
Octopost vs. Meta Business Suite
Before choosing how to schedule Facebook posts, it helps to see how a native tool compares with a more advanced workflow platform.
Here is a quick comparison:
|
Feature |
Octopost |
Meta Business Suite |
|
Platforms supported |
Facebook, Instagram, LinkedIn, X, TikTok, YouTube, Pinterest, Threads |
Facebook & Instagram only |
|
Scheduling type |
Individual + bulk scheduling |
Individual scheduling only |
|
Content calendar |
Advanced visual calendar with campaign view |
Basic calendar (Planner) |
|
AI support |
Yes (Claude-powered content generation & optimization) |
No |
|
Content organization |
Campaign-based structure |
No campaign grouping |
|
Collaboration |
Built-in approvals, roles, workflows |
Very limited |
|
Analytics |
Integrated performance tracking across channels |
Basic insights only |
|
Workflow |
End-to-end (plan → create → publish → analyze) |
Posting-focused only |
|
Scalability |
Designed for teams & high content volume |
Best for small, simple setups |
Once you move beyond occasional posting, the differences become more noticeable. Meta Business Suite works well for basic scheduling, but it does not support how content workflows actually grow.
This is where Octopost stands out.
Why Octopost stands out (especially with AI):
Octopost is built to replace fragmented workflows. Instead of using one tool for planning, another for writing, and another for scheduling, everything happens in one system.
The biggest advantage is how AI is integrated directly into the workflow.
-
AI caption generation (Claude-powered): You can generate captions, hooks, and variations instantly. This is useful when you need to produce content at scale or test different messaging angles.
-
AI-assisted content optimization: Instead of guessing what will perform, you can refine content based on engagement patterns. AI helps adjust tone, structure, and format before publishing.
-
Faster content production: Teams no longer start from a blank page every time. AI reduces the time spent writing while keeping messaging consistent across posts.
Beyond AI, the workflow itself is more structured.
-
Bulk scheduling for scale: You can upload and schedule multiple Facebook posts at once, which is not possible in Meta Business Suite. This is critical when managing campaigns or high posting volume.
-
Campaign-based organization: Posts are grouped by campaigns, not just dates. This makes it easier to align content with launches, promotions, or ongoing themes.
-
Centralized content calendar: Everything lives in one calendar where you can plan, adjust, and visualize your entire schedule across platforms.
-
Built-in collaboration: Teams can review, edit, and approve posts without leaving the platform. This reduces delays and keeps everything aligned.
-
Connected analytics: Performance data is tied directly to your content. You can see what works and adjust future posts without exporting reports.
The difference is not just in features.
Meta Business Suite helps you schedule posts. Octopost helps you run a content system.
That shift becomes important as soon as your workflow grows beyond a few posts per week.
Expert Tips for Schedule Facebook Posts in 2026
Posting without a plan is the fastest way to lose reach on Facebook. The platform still rewards engagement, but the feed is more competitive than ever. If your posts are not timed well or structured properly, they disappear before people even notice them.
To get better results when you schedule Facebook posts, you need more than a calendar. You need a clear approach that helps each post perform.
Here are the tips that actually make a difference.
Post at the right time
Timing still plays a major role in visibility.
If your post goes live when your audience is inactive, it will struggle to gain early engagement, which affects how far it spreads. The easiest way to improve this is by checking your Page Insights.
Look for patterns. Most pages see higher activity in the early morning, around lunch, and in the evening. Use those windows as your starting point, then adjust based on your own data.
Use AI as a starting point, not the final output
AI tools can help you move faster, especially when you need ideas for captions or headlines.
The key is how you use them. Treat AI-generated content as a draft. Edit it to match your tone, simplify the message, and make it feel natural.
When used correctly, AI speeds up content creation. When used without editing, it makes posts feel generic and easy to ignore.
Reuse content that already works
You do not need to create something new every time.
Go back to your analytics and find posts that performed well. These could be tips, guides, or posts that sparked engagement. Update the visuals or rewrite the caption slightly, then schedule them again.
This helps you get more value from content that has already proven it can perform.
Be intentional about who sees your post
Not every post needs to reach everyone.
Facebook allows you to target specific audiences based on location, interests, or demographics. When your content is more relevant to a smaller group, engagement tends to be higher.
Instead of broadcasting broadly, focus on matching the content with the right audience.
Test small changes consistently
Small variations can lead to different results.
Try changing the first line of your caption. Test a question versus a statement. Swap visuals while keeping the same message. Schedule these variations at similar times and compare performance.
Over time, these small tests give you a clearer idea of what works and what does not.
When you combine better timing, smarter content creation, and consistent testing, scheduling stops being a routine task.
It becomes a way to improve performance with every post.
Conclusion
Learning how to schedule Facebook posts is one of the easiest ways to bring structure into your content workflow.
At the beginning, simple tools like Meta Business Suite are enough to stay consistent and avoid manual posting. But as your content grows, so do the challenges around planning, collaboration, and performance tracking.
That is where the right system makes a difference. Moving from basic scheduling to a more structured workflow helps you save time, reduce errors, and improve results over time.
The goal is not just to publish posts. It is to build a process you can rely on as your content scales.
Facebook post scheduling FAQs
Can I schedule Facebook posts for free?
Yes. You can use Meta Business Suite to schedule Facebook posts at no cost. Some third-party tools also offer free plans with limited features.
How far in advance should I schedule Facebook posts?
Most teams schedule posts one to four weeks ahead. For campaigns or promotions, planning further in advance can help keep everything aligned.
What is the best time to schedule Facebook posts?
It depends on your audience, but common high-engagement times include early morning, lunchtime, and evening. Checking your Page Insights will give you more accurate data.
Can I edit a scheduled Facebook post after publishing?
You can edit a post before it goes live. After publishing, you can still update the caption, but some elements like media may be limited.
Do I need a third-party tool to schedule Facebook posts?
No. Meta Business Suite is enough for basic scheduling. However, third-party tools are useful if you need bulk scheduling, cross-platform management, or team collaboration features.